Monday, January 21, 2013

DIY | Valentine's Day Banner

I'm not one for Valentine's Day... Okay I kinda am. But, the hubby considers it a Hallmark Holiday and prefers to surprise me because he wants to, not because someone said he should. So usually we decide to go out for dinner and find something we both want. Last year we went to San Francisco and called it our Valentine's Day present. This year, we are going to Niagara Falls for a week and having a seafood cookout the night of. I'm completely okay with this. :D

diy valentine's day banner. (by martha.anne)


While we may celebrate Valentine's Day a little differently, I decided a little banner project would still look cute. I didn't want to go all out, so I did it with things from around the house and it cost me $0. After putting it together, I thought how cute, I think I'll share. :o)


DIY Valentine's Day Banner

you'll need.

newspaper
scrap cardboard
string
scissors
pencil
tape
glue
hole punch


here's what you do.

1. Draw a heart on the scrap cardboard
and cut it out so you can trace it.

2. Trace hearts onto newspaper and cut them out.
(Leave newspaper folded to cut more at once.)

3. Glue three hearts together so that they are thicker.

4. Punch two holes in hearts - one at the top of each side.

5. Twist together string and feed it through the holes.
(I used hemp and embroidery thread.)

6. If desired, tape string to the back of hearts to keep them in place.


VOILA! Valentine's Day Banner complete.


There you have it. I completed my first holiday banner and on a budget - zip, nil, zero dollars! It doesn't get any better than that and it looks absolutely adorable above my working space:

diy valentine's day banner. (by martha.anne)


I linked up here:

More the Merrier Monday


Shaken Together


Friday, January 18, 2013

The Ensuite Has Started...

It's not much to show you, but we have started. All of the pine has been removed and we have moved the clothes. Here's what it looks like for now... (I'm sort of pouting because I miss my shelves already!)


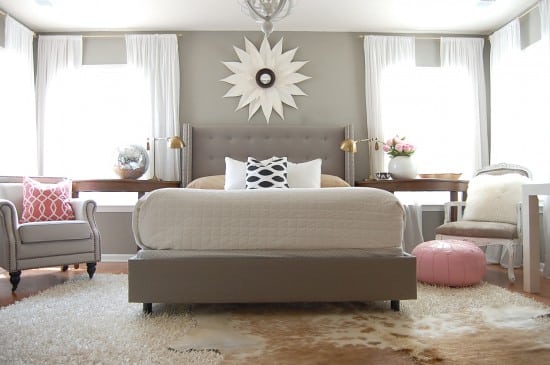
(See what it looked like before: Before and After - The Master Bedroom)


I drew up a plan for the layout:


And, here are some ideas of what things will look like...

I would like the shower to look like this one or no wood and just glass. The white subway tile would be perfect to keep the space light and airy.


pinterest.


The sink will look like this one... maybe. I'm still trying to decide if it is too minimal or just right for the size of the space. If we go with this design, I would like both pieces of wood extended to make a counter space area.


Pinterest.


The closet will be a walk-in with lots of hanging space and built in storage. I would like some shelves and drawers, along with this great jewelry space:


Pinterest.


The door between the bathroom and closet will be a pocket door - a must to save space. But, the door that enters the ensuite is currently a lot bigger than a regular door opening. Instead of framing it in, I really want a barn door - either like this one or one with just one big door.


Pinterest.


Eek! So excited. Estimated date of completion... December 2013... {laughing out loud} Okay, seriously - hopefully by the summer. And, hopefully I don't stumble upon too many other ideas in the meantime to change my mind.


Wednesday, January 16, 2013

Before and After | The Dining Room Chairs

I have chairs! Okay so you may have snuck a peak at them in the DIY Prendant Lighting with Lampshade post the other day... but here they are up close and personal.


When the hubby built the new table, we were left with an eight-seater bar table. Without hesitation, my mom volunteered it to her home. We thought why not? We were done with it... but we get to keep two of the chairs for our island... and the deal was made. I'm not sure if she actually won out of this situation though. When we dropped off her table, she was left with two sets. So, I insisted we take her old one. Well, at least the chairs. I figured if we painted them up they would do just fine at our new table. So we did just that. (As for the table, the hubby is turning it into a desk!! Stay tuned for that post... it's a project still sitting on the back burner.)

Before:


After:


What do you think? Not bad? We are still getting used to having a "normal" height table and everything seems so tiny... or the space feels huge. I'm not too sure yet. Anyways, I'm saving my pennies for two wing back or upholstered chairs for the ends, like this one:


via


And when I say saving my pennies I mean it. Can you believe that these chairs are $400 each?? I mean obviously I'm not getting them, but I even saw other ones I like that are $1000 each... do people really pay that much for one dining room chair??

Oh to dream...

Anyways, those are the dining room chairs... we're still trying to decide if we like them.


Monday, January 14, 2013

DIY Pendant Lighting with Lampshades

When we were redoing, okay gutting our main floor, I had the perfect image for the lights I wanted over the island. There was just one problem - the $ price tag. The lights I wanted started at $160 each! If anyone knows me, they know I wouldn't spend that on a light no matter how much I loved it.

So, I got creative. (Please excuse all ceilings... I need to get them painted!)


diy pendant lighting with with lampshades by martha.anne


In fact, back in the summer I even took a picture with my phone of the exact fixture I bought so I could share my steal with you. Lets just say we did both lights for $60. Are you ready for it? Here goes.

So, here are the style I wanted:


Ballard Designs - $299


Placed like this:


Pinterest


In white with a silver post. (Can't find that picture?)

And here is what I have:


diy pendant lighting over kitchen island by martha.anne


Spaced like this:


diy pendant light with chrome / silver post and white lampshade by martha.anne


In white with a silver post :o)


diy pendant lighting for $30 by martha.anne


How did we do it? First, we bought two glass pendant light fixtures from Home Depot for $20 each, where the glass was removable.


Home Depot light fixture


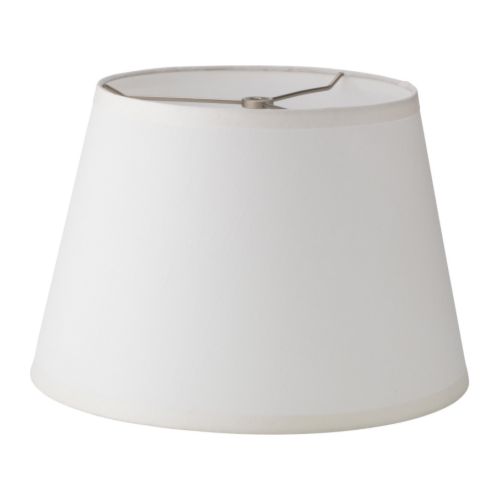
Then we bought the JONSBO lamp shades from Ikea for $10 each.


JONSBO lampshade from Ikea


First I removed the glass from the light fixture, then before the hubby installed it, slid the Ikea lamp shade down the post so that it would rest on the fixture. And, voila. Install and complete. Why pay over $300 when you can have these beauties for only $60. And... if you cut the lamp shade wire for easy on and off, you could also change out the shade to match seasonal decor!


(This post has been linked up on Setting For Four - http://www.settingforfour.com/2013/01/its-party-time-1-13-2013-linky-party.html and Creations by Kara - http://www.creationsbykara.com/2013/01/look-what-i-made-link-party-1-9-2013.html)

Friday, January 11, 2013

The Nester... Another Amazing Blog!

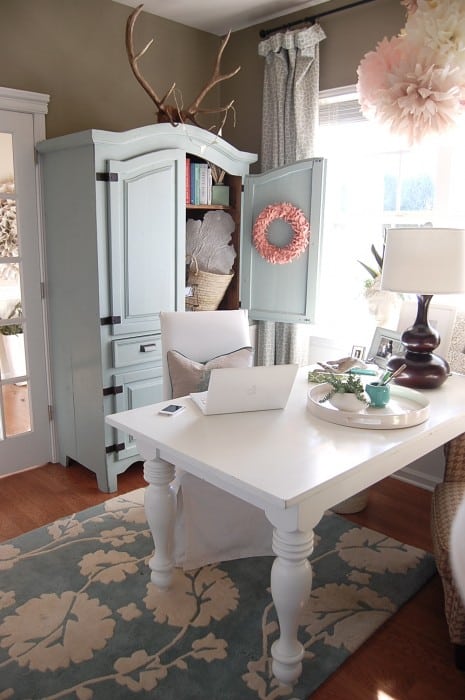
I love this blog. I stumbled upon it after pinning an amazing home office on Pinterest. It's rare that I actually click on the link that goes with the pin - I know that's horrible - but there was something about this office and now I'm glad I did. Take a peek:


nesting place.

nesting place.

nesting place.


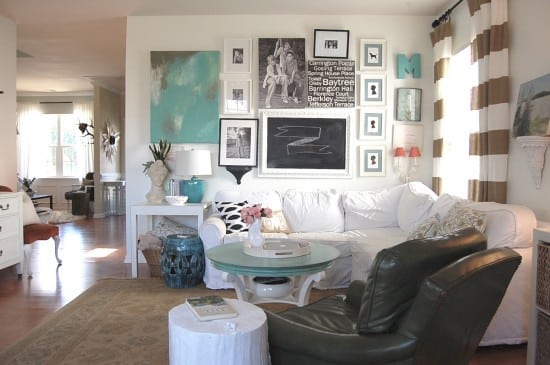
Anyways, I read a few more posts and slowly started learning that she blogs about her house and creating the perfect nest. A lot of her decor is budget friendly and some even DIY.


nesting place.

nesting place.

nesting place.


I'm just getting started with reading through the nesters posts, but I definitely subscribed to her email updates and can't wait to hear more!! (You can visit her here.)


Did You Notice?

I've already changed a few things around the blog. The other day I wrote Hungry for Change and told you about my goal to start working on the blog... and so far I'm well on track. Here's what's new:


sign up for new posts.

view posts by favorite topics.

search the blog.


Not much... but definitely a step in the right direction. Have a great weekend!